Approve and Enroll Child
This guide provides a step-by-step process for approving and enrolling a child in a digital childcare system, ensuring a smooth and efficient enrollment experience. It highlights essential actions, such as reviewing applications, signing necessary documents, and managing enrollment dates. By following this guide, administrators can effectively navigate the system, maintain clear communication with parents, and ensure all requirements are met for a successful enrollment. It's a valuable resource for anyone involved in childcare administration.
1. Navigate to https://app.mydigitalchildcare.com/dashboard
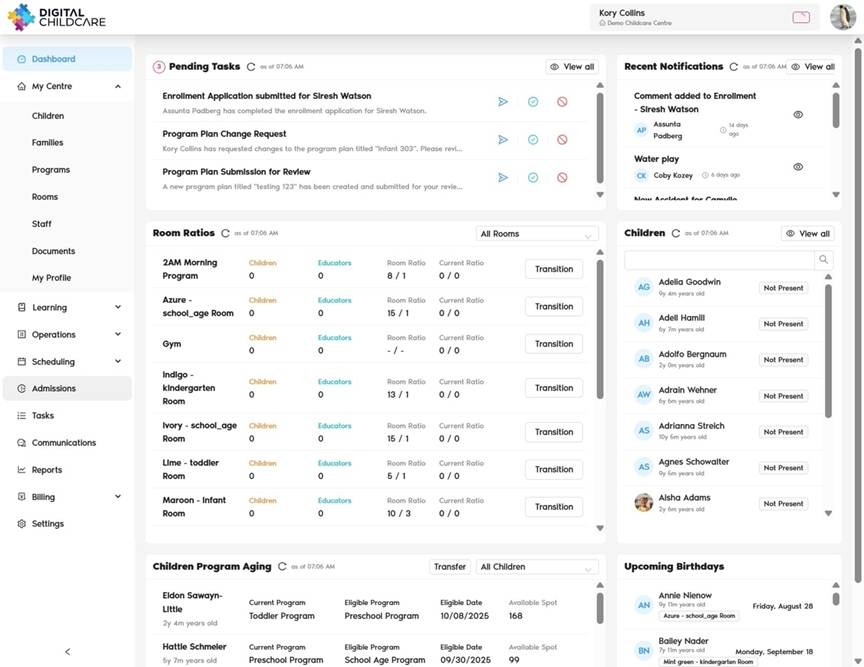
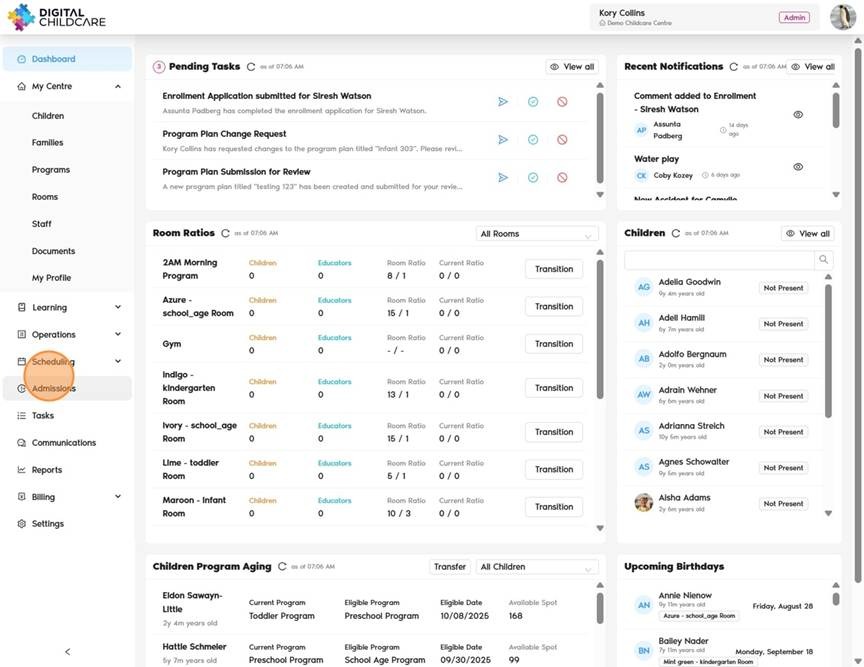
2. Click "Admissions"
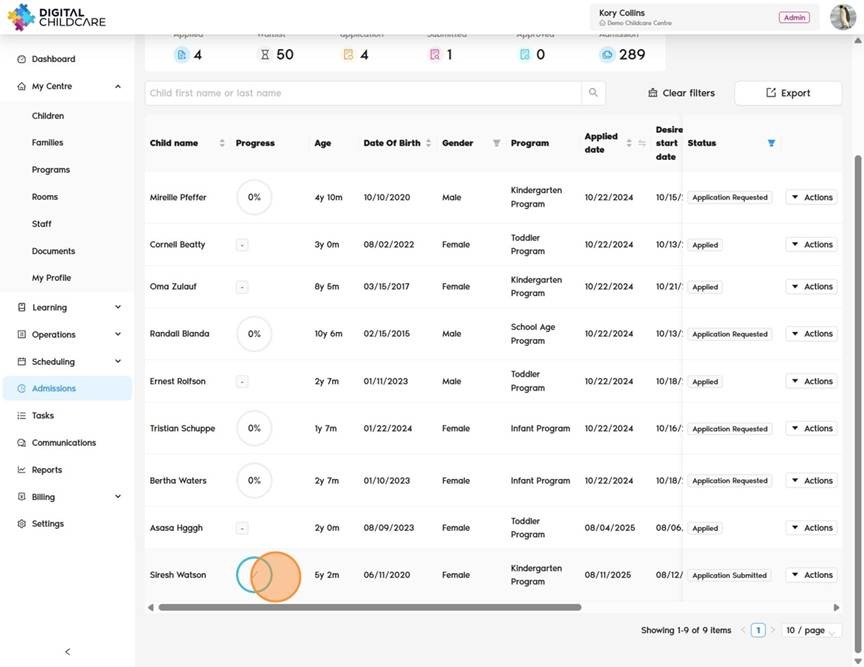
3. You’ll see "Application Submitted" with a checkmark next to it, indicating the enrollment package is in progress.
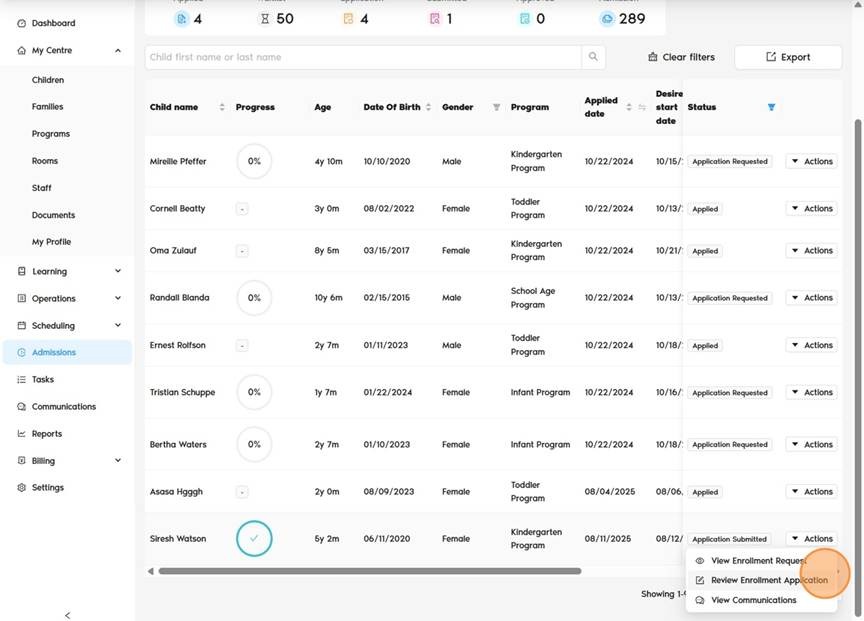
4. Click "Actions," then click "Review Enrollment Application."
5. You will be directed to the enrollment package. This step allows you to review and verify whether the package is complete or incomplete. Click on "Communications" to view any related messages.
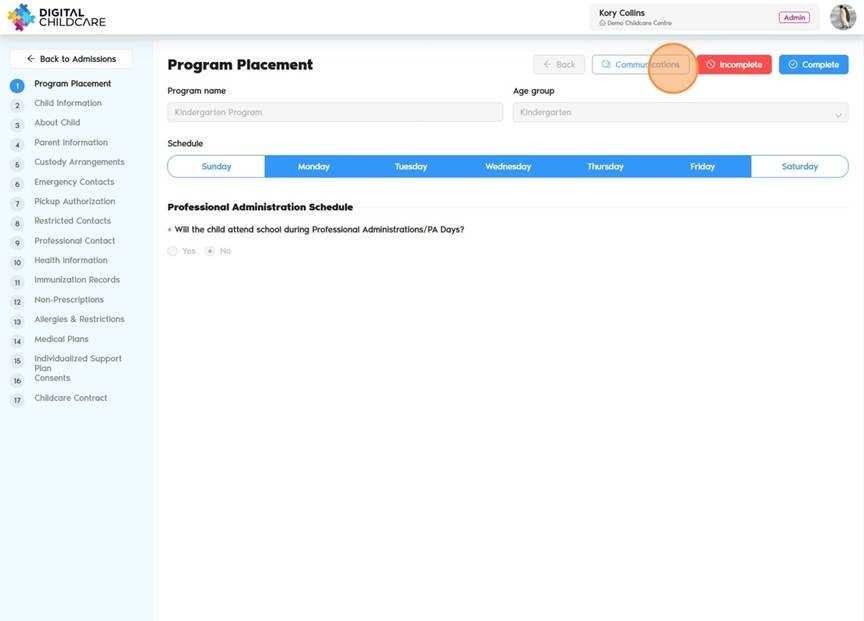
6. If a section is incomplete or not completed correctly, click "Incomplete." This will send the package back to the parent to complete.
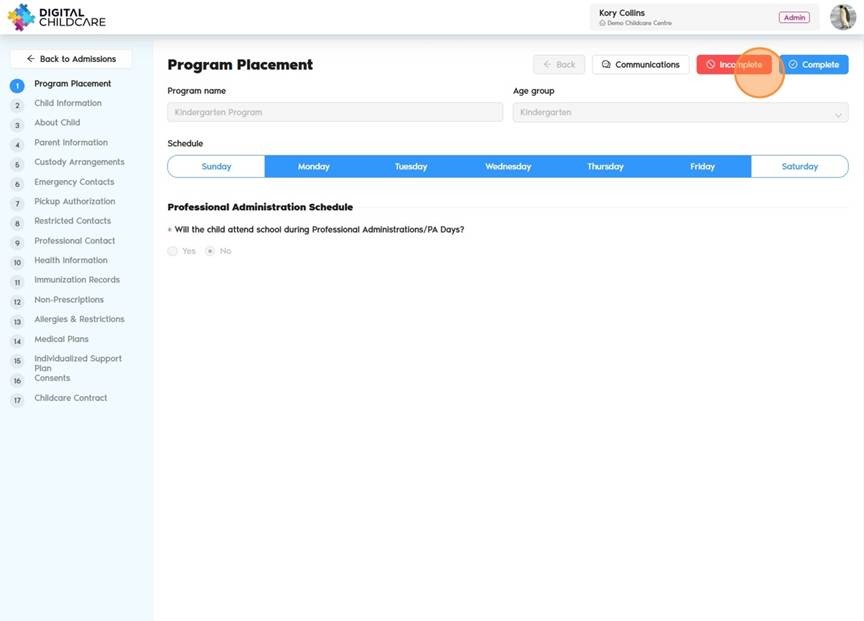
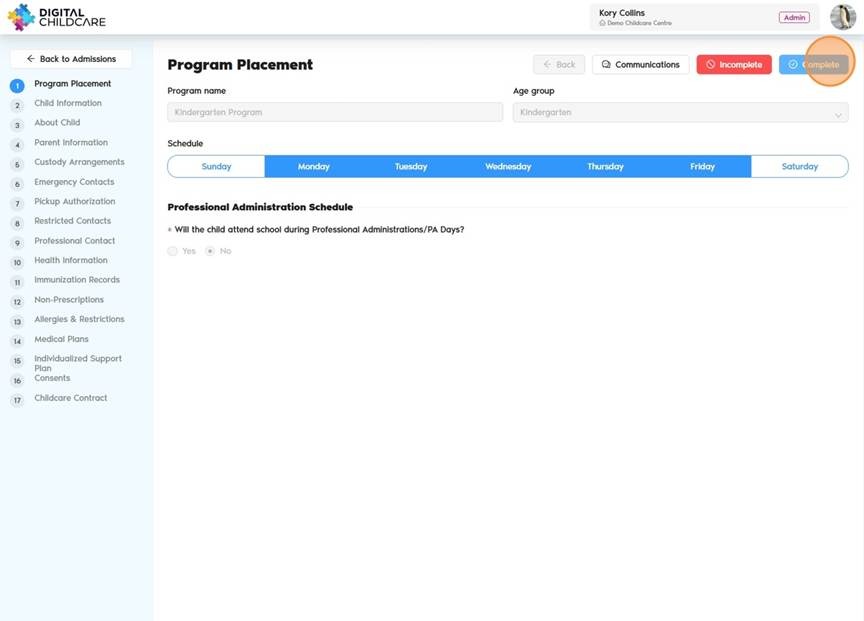
7. If a section is complete, click the "Complete" button, then move on to the next section.
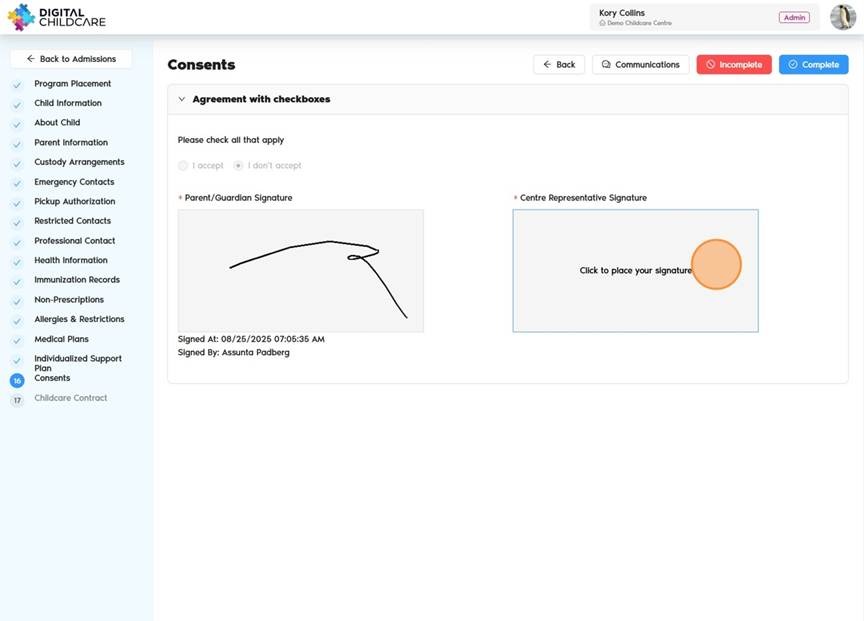
8. There will be sections within the enrollment package that require the administrator's signature. In these sections, you'll see a prompt labeled "Click to place your signature." Be sure to complete this step in areas such as Allergies (Anaphylactic), Medical Plans (if applicable), Individual Support Plans (if applicable), and all Consents and Contracts. These signatures are necessary to finalize the enrollment process.
9. Click "Enroll" to assign the child to a room, either for today’s date or a future date.
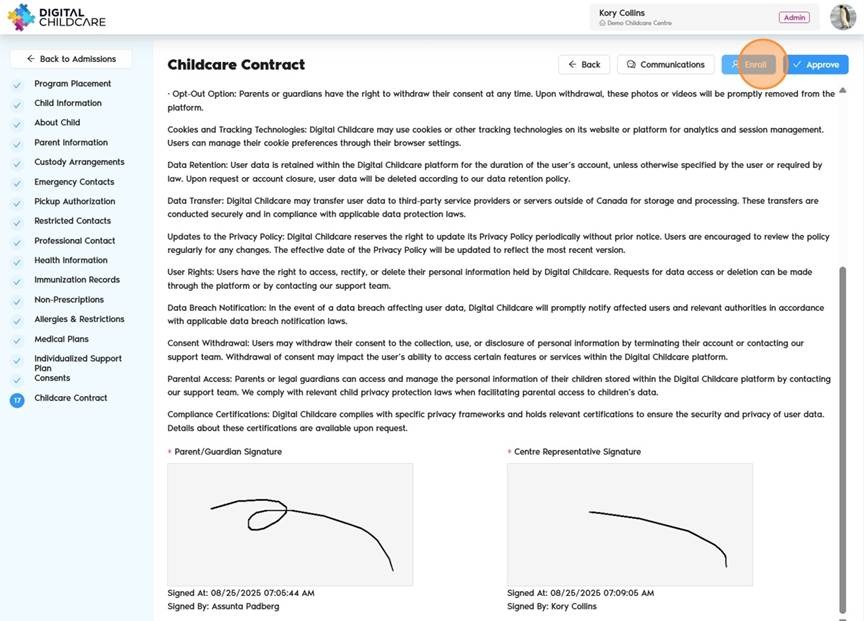
Alert! Only available rooms will appear as options for enrollment.
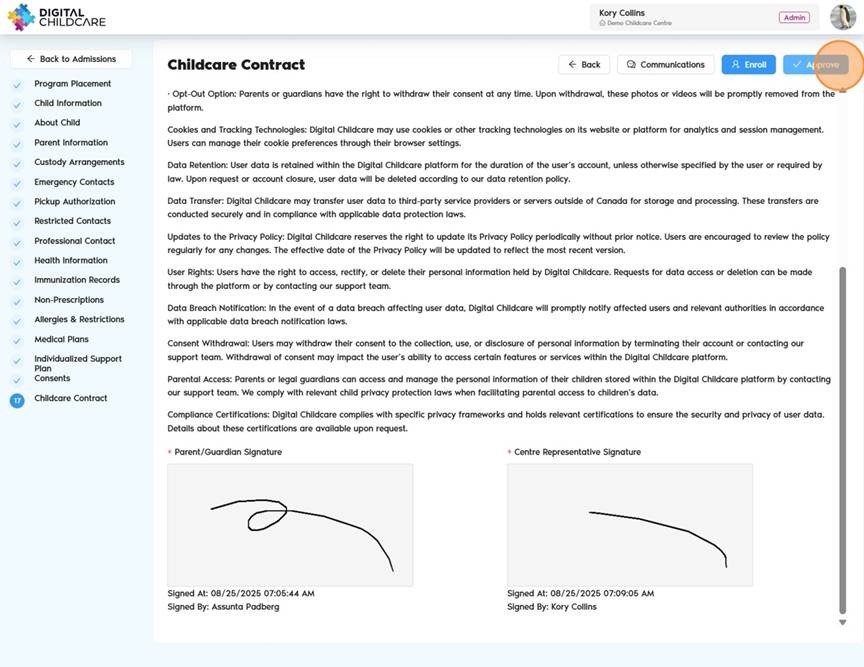
10. Click "Approve" if you want to review now but enroll the child at a future date.
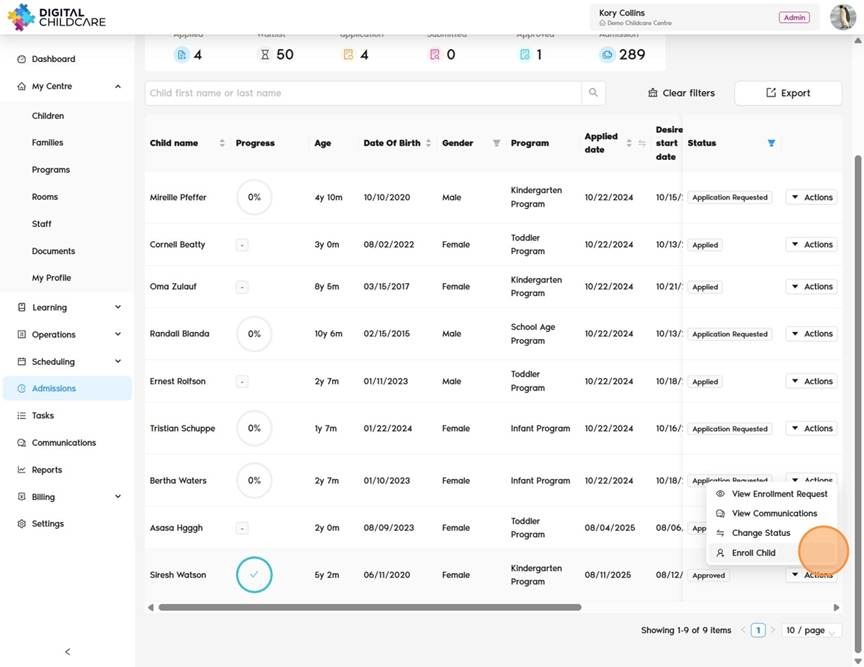
11. You can later change this status to Enrolled by clicking "Actions" and selecting "Enroll Child."
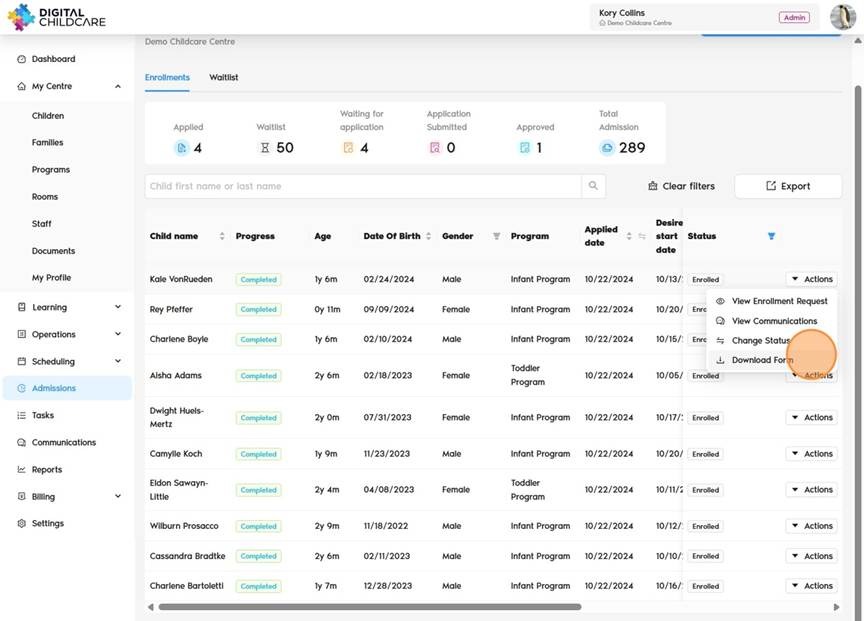
12. Once the status is changed to Enrolled, you can download the child’s profile by clicking "Enrolled", then clicking "Download Form."
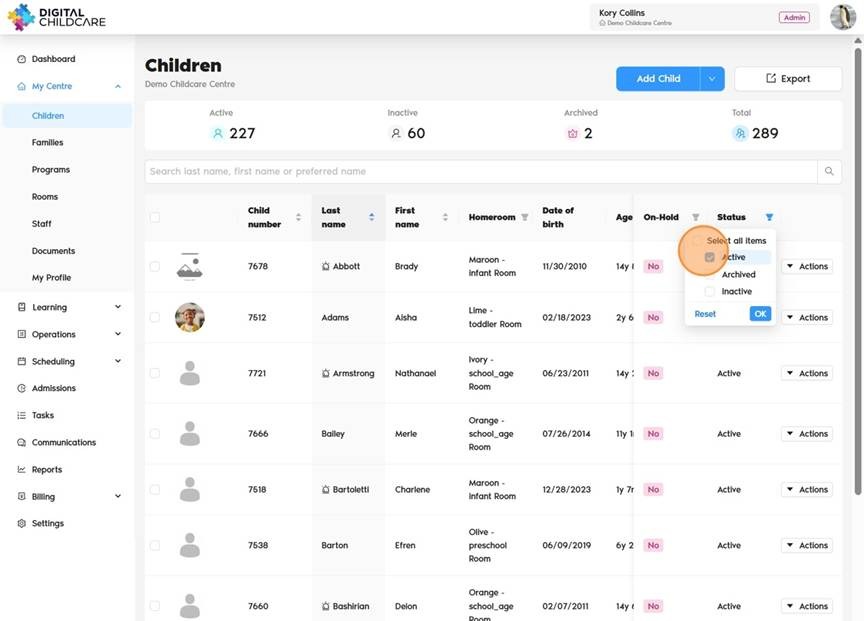
13. You can also view all inactive children in the Children section.
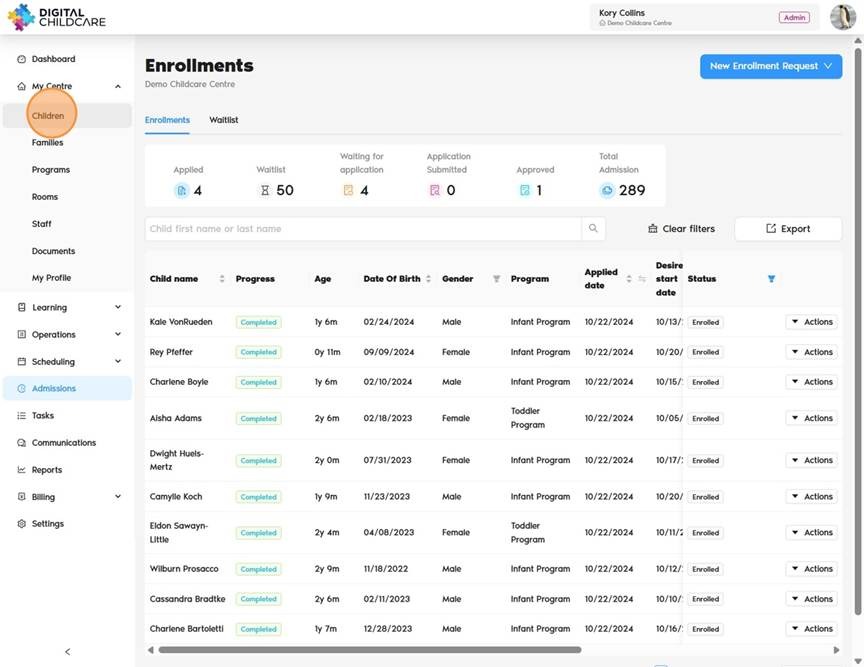
14. This can be done by filtering for "Inactive Children."
15. If you need to change a child’s start date, go to Admissions → click "Actions" → select "Change Enrollment Settings", then update the date accordingly.
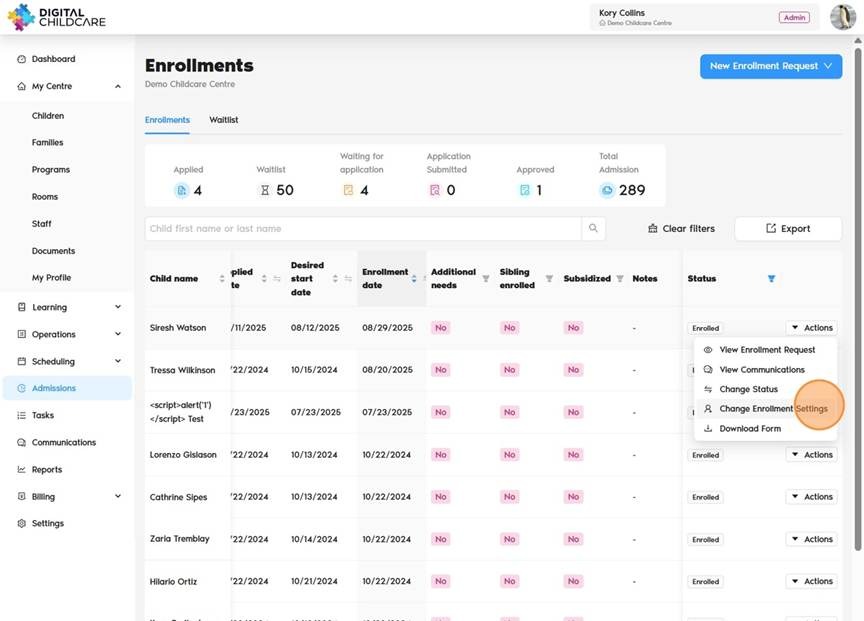
⚠️ Alert: Future enrollment dates will mark the child as inactive until the enrollment date.
If you need to withdraw a child after registration, click Actions → Change Status → Withdraw.
Parents will be notified of every status change but will not be able to see their position number on the waitlist.
Was this article helpful?
That’s Great!
Thank you for your feedback
Sorry! We couldn't be helpful
Thank you for your feedback
Feedback sent
We appreciate your effort and will try to fix the article